このブログでは子供の頃、美術の授業が好きだった方
美術館には行くけど、ギャラリーには行ったことがない方
家に絵画や作品を掛けてみたいけど、どうしたらいいか分からない方に向けて、
現代アートをお家で楽しむには、どうしたらいいかをご紹介していきます。
今回は、作品の掛け方をお伝えします。
ステップ1
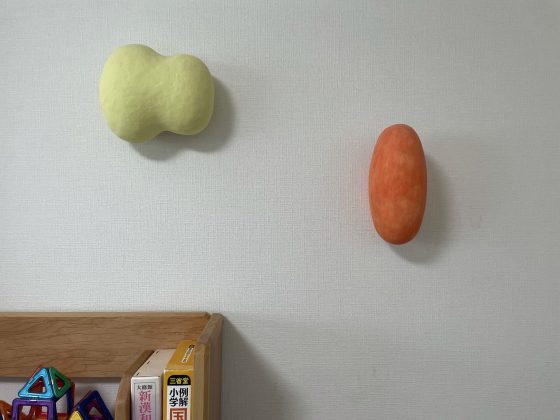
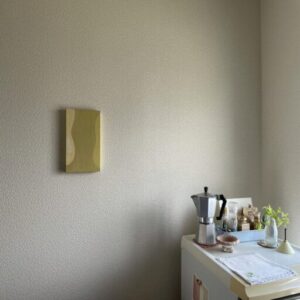
まずは、どの部屋のどの辺りに掛けるか決めよう!
どこがしっくりくるか、何か所かに手で押さえながら作品をあてがいます。
玄関、キッチン、リビング、寝室、階段、トイレなどいろんな壁に当ててみましょう。
初めて作品を掛ける場合、なるべく一日を多く過ごす部屋がおススメ!
ステップ2
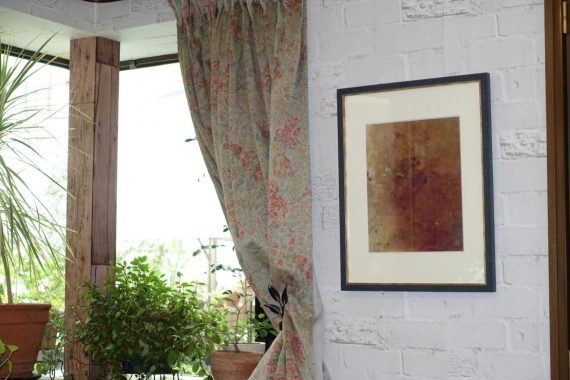
どこに掛けるか決めたら、作品を掛ける位置を決めましょう!
身長にもよりますが、おすすめは低めの展示。作品を近く感じ、座ってゆったりと見る事は格別。
私の場合155㎝の伸長に対して、床から140㎝位の所に作品の中心が来ると、見やすいです。
しかし、家具の高さや配置の関係で、兼ね合いも必要!
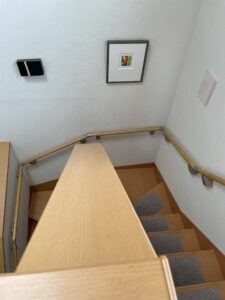
我が家では、作品の中心を155㎝で統一。
複数掛ける場合、作品の高さを同じにすることで、統一感が生まれ、作家がそれぞれ違っていても不思議とまとまりのある部屋になりますよ!
これは30㎝前後の作品を想定していますが、小品でしたら、一つの壁にランダムにかけてもオシャレです!
統一感を重視した展示、遊びのある展示、それぞれの作品のイメージにもよるので、試しながら自分の気に入った展示がお家で出来ると素敵ですね。
ステップ3
壁にフックを取りつけよう!
日本の住居の壁は石膏ボードがほとんど、石膏ボード対応、木壁対応額縁用壁掛けフックは、壁から抜け落ちることがないので、安心です。
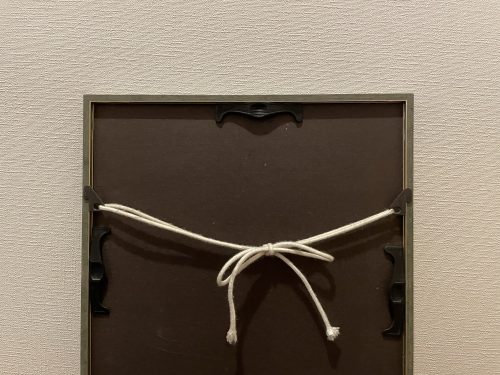
作品が額に入っている場合は、後ろにひもが掛かっています。ひもをフックに掛けた時、理想的な高さになるようフックを差し込むか所を見極めてください。
作品がパネルの状態の場合、フックではなく、ピンや釘を2本同じ高さに差し込み、そこに掛けることもできます。
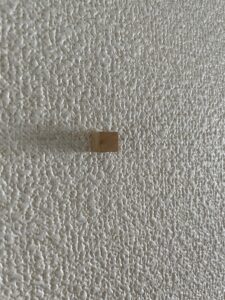
↑このピンは四角いのでグラグラせず、軽い作品なら1個で掛けることが出来ます。
【Krueisコルク画鋲 方形 】
ステップ4
作品を掛けよう!
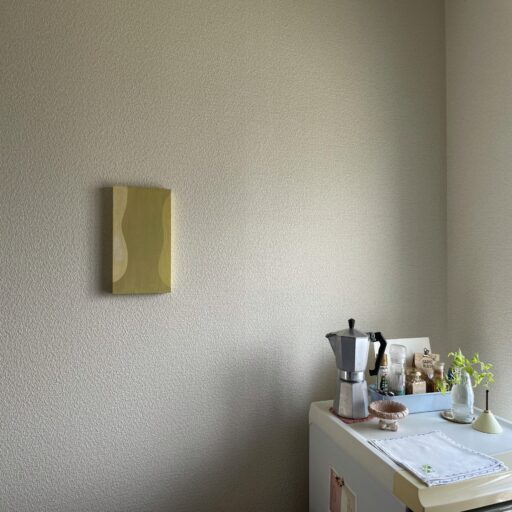
いよいよ作品をかけます。水平に掛けることを意識し、家に展示。
さあ、今日からアートのある暮らしがはじまります!
意識的にも無意識的にも、視界にお気に入りの作品がある!という事がとても大事です。
もし、作品を持っていてお家に掛けていない方は、もったいないのですぐ掛けて下さい。
湿気の多い日本において一番良い保存方法は、常に空気に触れている、家に掛けるという事なのです。
ステップ5【ワンポイント裏技!】
ここまで読んでくださった方に、感謝を込めて裏技をひとつご紹介します。
額を掛けた時、どうしても下に向かいお辞儀をするように傾きます。ひもに掛けているからなんですが、これを解消することが出来る裏技があります。
額の両端下から1センチくらい上の所にスポンジ(私は100均で買えるメラミンスポンジを使っています)を両面テープで付けます。
すると、額の傾きがなくなりますよ!
スポンジは、額によりますが、約1㎝から1.5㎝の立方体に切って、貼り付けていただければ十分です。
これは、かなり上級者だと思います。私は普段はそこまでしないです。額のひもを緩めずキュッと結ぶだけでも、傾きはある程度抑えられます。
壁に穴をあけるのには、抵抗がある方は多いでしょう。穴のふさぎ方も、今度記事に載せますのでお楽しみに!
質問やご感想は、トップページのお問合せで受け付けておりますので、気軽にコメントお待ちしております。
最後まで読んでいただき、ありがとうございました。
作品との良い出会いを!
DEア ートでした。
関連動画▶作品を掛ける時必要な道具‼「展示と穴埋め方法」YouTube
【Contemporary Art】Let’s hang artwork! 5 Easy Steps.
In this blog
Those who loved art classes as a child
If you go to museums but have never been to a gallery
For those who would like to hang paintings and artworks in their homes, but don’t know how to go about it.
Here are some tips on how to enjoy contemporary art at home.
In this article, I will tell you how to hang artwork.
Step 1
First, we need to decide which part of the room to hang it in!
Place the piece in several places, pressing down with your hand to see where it fits.
Apply it to various walls such as the entrance, kitchen, living room, bedroom, stairs, and bathroom.
If you’re hanging a piece for the first time, I recommend a room where you’ll spend as much of the day as possible!
Step 2
Once you have decided which room you want to hang the artwork in, decide on the height at which you want to hang it.
Depending on your height, I would recommend a lower display. You will feel closer to the artworks, and it is very special to sit and relax.
In my case, I find it easier to see the work when the center of the work is about 140cm from the floor for a 155cm extension.
But due to the height and placement of the furniture, there must be a combination!
In our house, the center of the work is unified at 155cm.
If you hang more than one piece, make sure they are the same height to create a sense of unity and make the room look more cohesive, even if the artists are different.
This is for a piece around 30 cm, but if it’s a small piece, it would look great hung randomly on one wall!
It would be wonderful if you could create an exhibition at home that you like while experimenting, as it depends on the image of each piece, whether it is a unified display or a playful display.
Step 3
Let’s get some hooks in the wall!
Most of the walls in Japanese houses are made of plasterboard, and the wall hooks for plasterboard and wooden wall picture frames are designed to prevent them from falling off the wall.
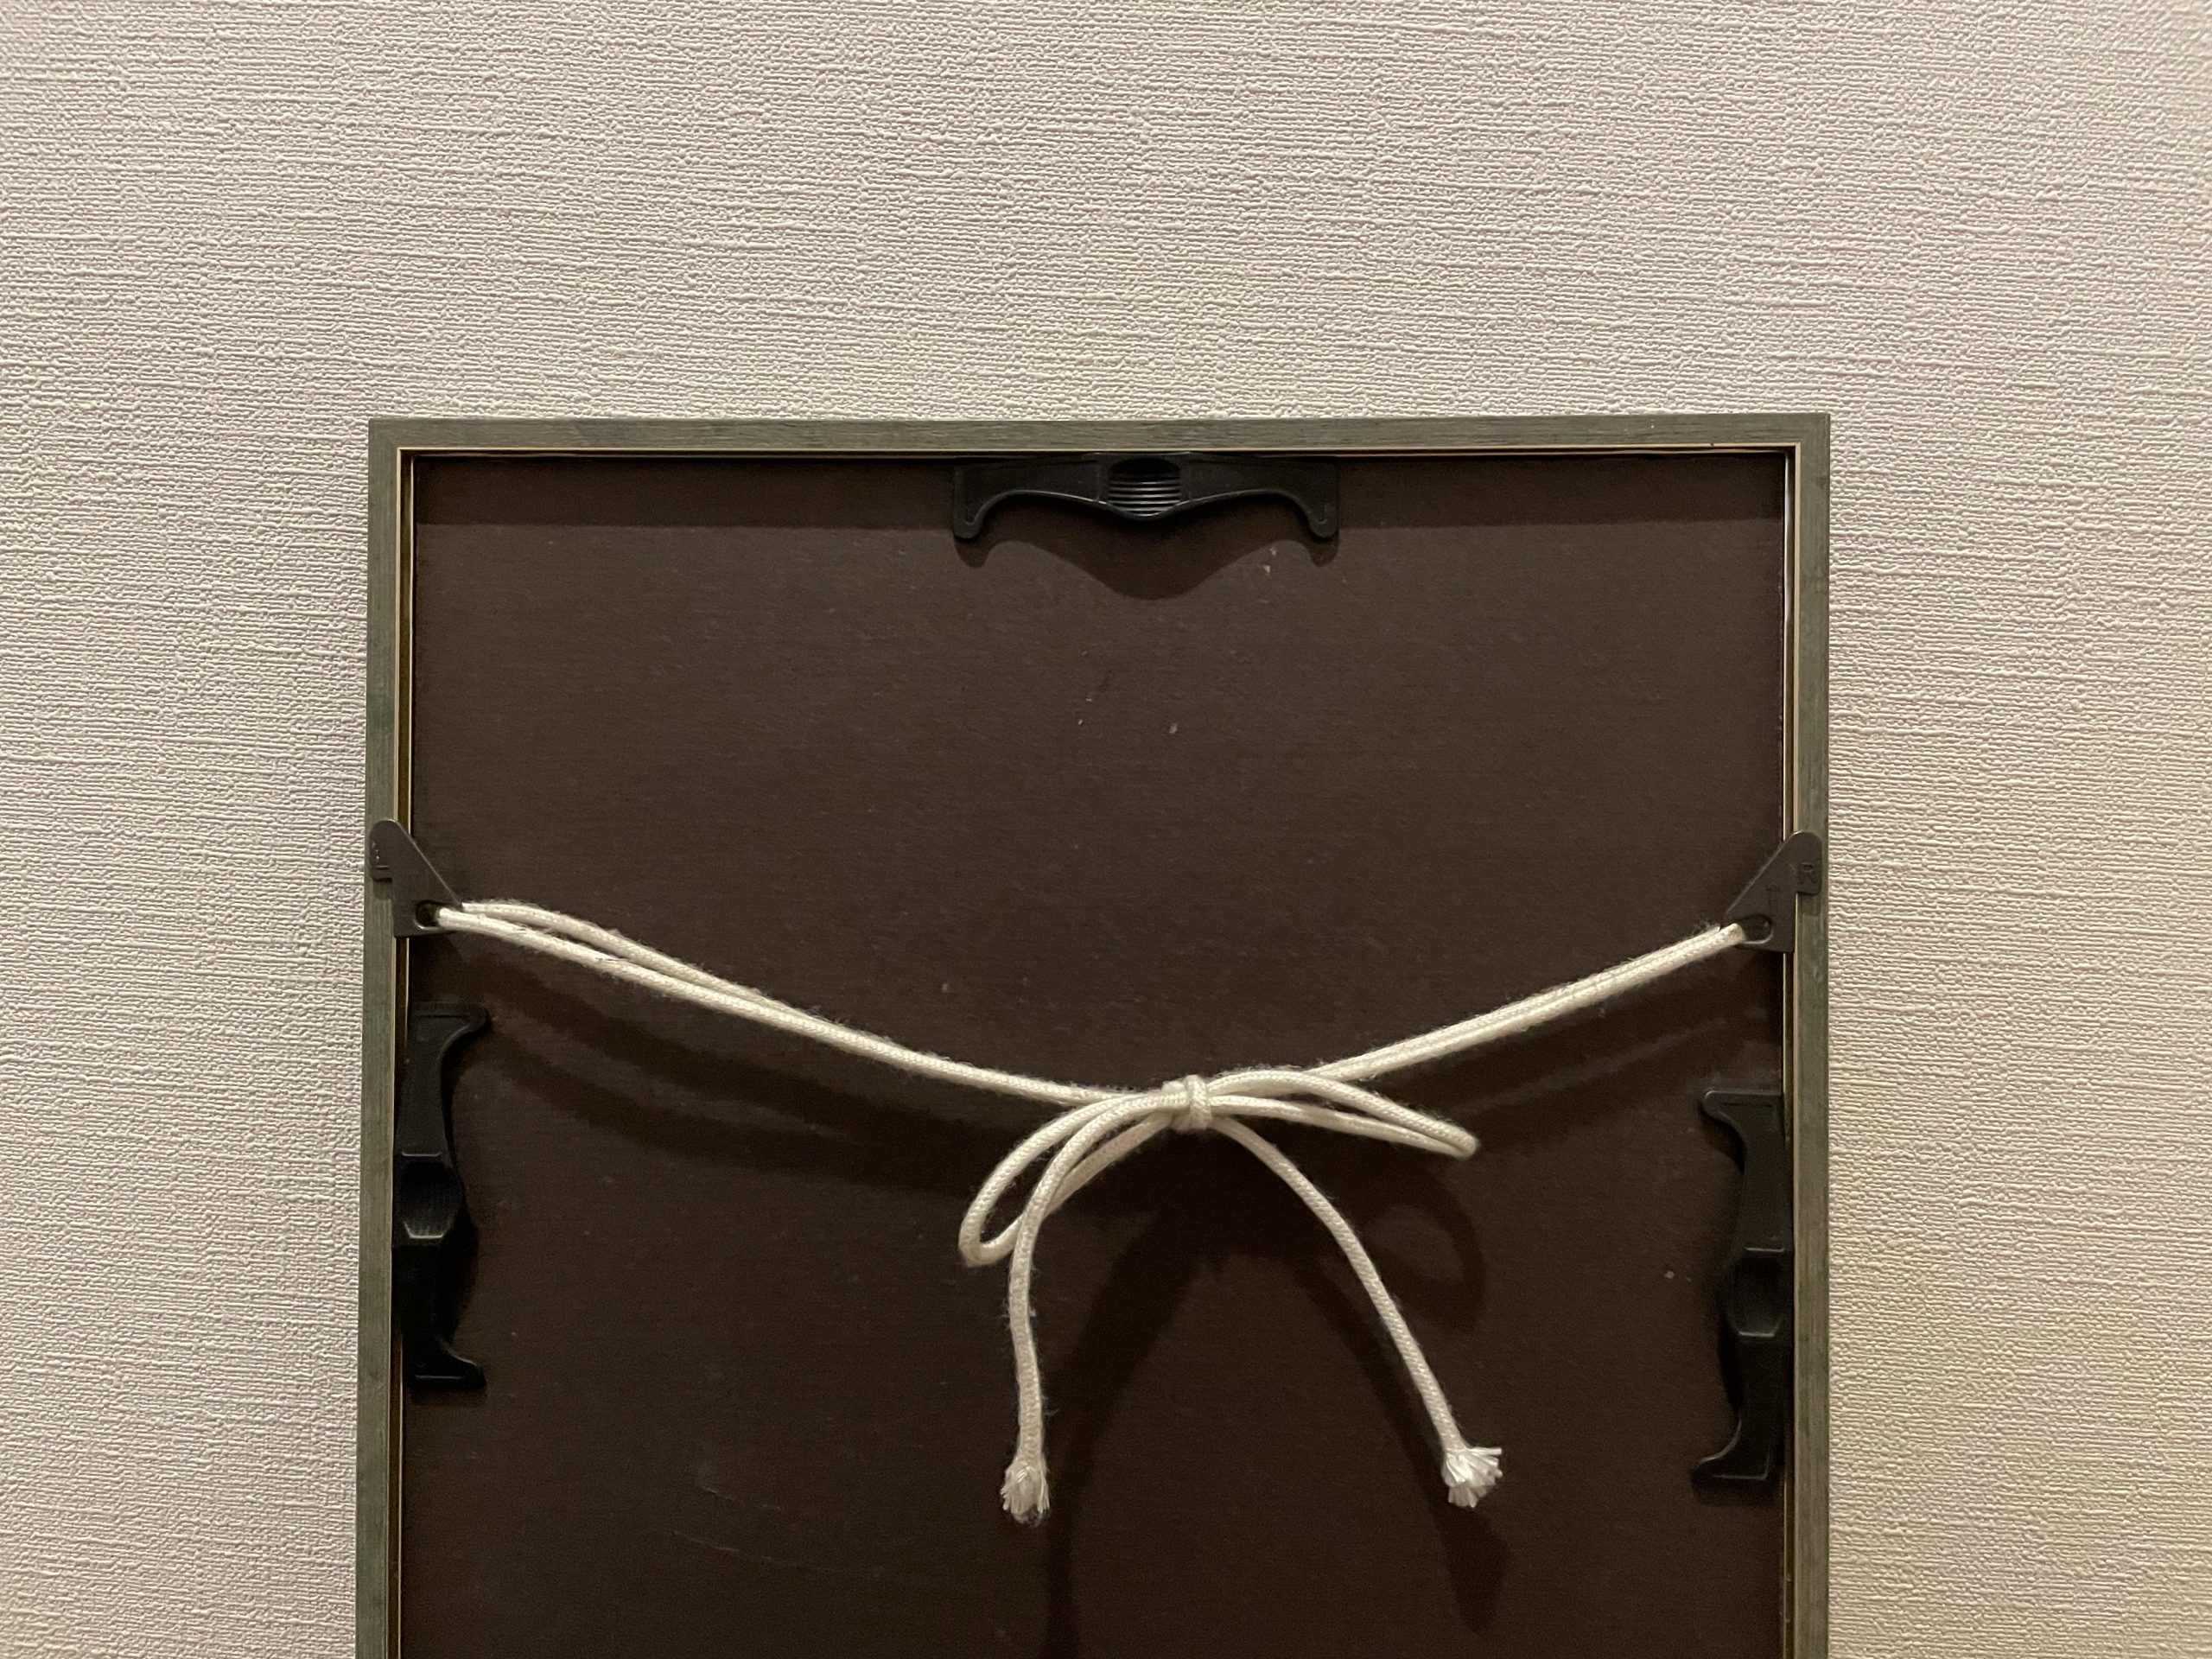
If the work is framed, there will be a string hanging behind it. Determine where to insert the hook so that when the string is hung on the hook, it will be at the ideal height.
If the work is on a panel, you can insert two pins or nails at the same height and hang it there instead of using hooks.
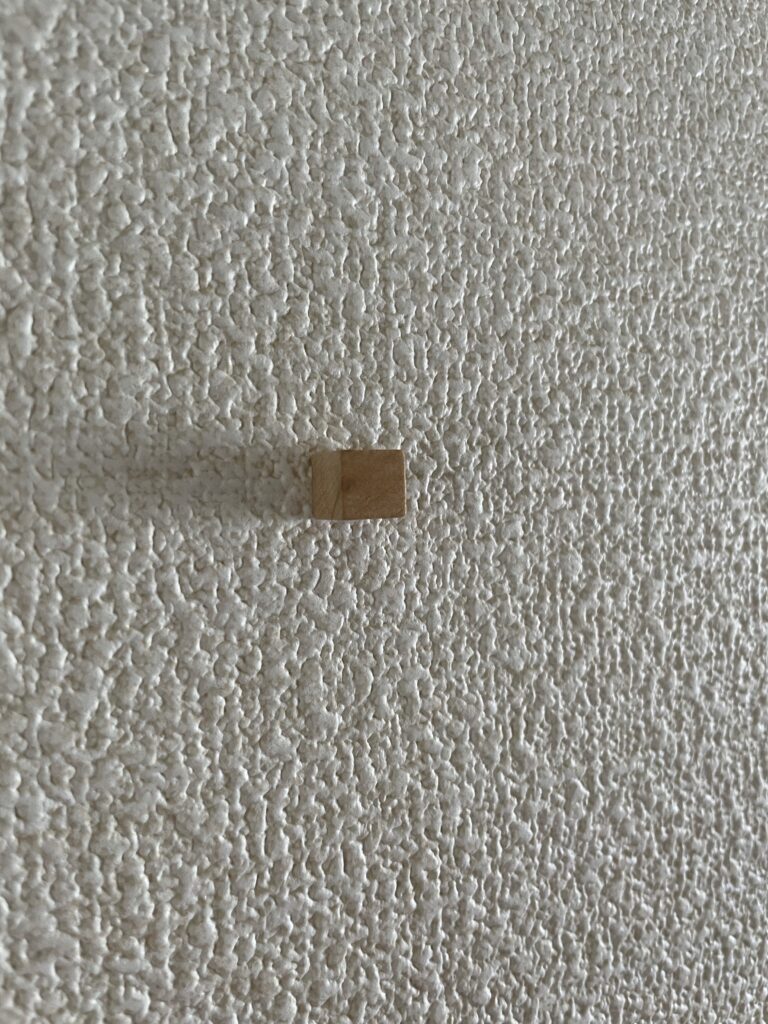
↑The square shape of this pin prevents it from wobbling and allows you to hang light works with just one pin.
【Krueis Cork Studs Square】
Step 4
Let’s hang up the work!
Finally, it’s time to hang the work. The work is displayed in the house, being conscious of hanging it horizontally.
Now, from today, life with art begins!
Whether consciously or unconsciously, it is very important to have your favorite piece in view.
If you have a piece of art and haven’t hung it at home, please do so immediately as it would be a waste.
The best way to preserve them in humid Japan is to hang them in the house, where they are always exposed to the air.
Step 5 【One-point technique!】
If you’ve read this far, I’d like to introduce one of my techniques as a thank you.
When you hang your forehead, it will inevitably tilt downward. This is because it is hanging on a string, but there is a technique that can solve this problem.
Attach sponges (I use melamine sponges that can be bought in 100-yen stores) to both sides of the frame with double-sided tape, about an inch above the bottom.
Then your forehead will no longer be tilted!
It is enough to cut the sponge into cubes of about 1 cm to 1.5 cm, depending on the frame, and paste them on.
Many of you may not be comfortable with drilling holes in the wall. I’ll post an upcoming article on how to plug the holes, so stay tuned!
I think this is very advanced. I usually don’t go that far. Even if you just tie the forehead strap tightly without loosening it, you can control the tilt to some extent!
If you have any questions or comments, please feel free to contact us at the top page and we look forward to your comments.
Thank you for reading to the end.
Have a good encounter with a work!
This was DE art.
Related Videos▶Tools you need when hanging your work: “How to display and fill in the holes“
Translated with www.DeepL.com/Translator (free version)